


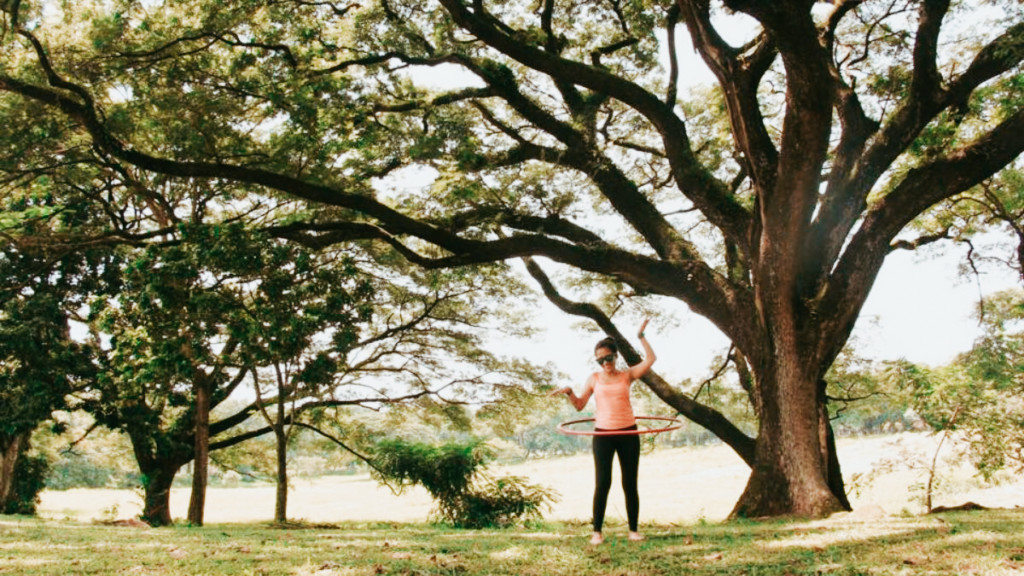
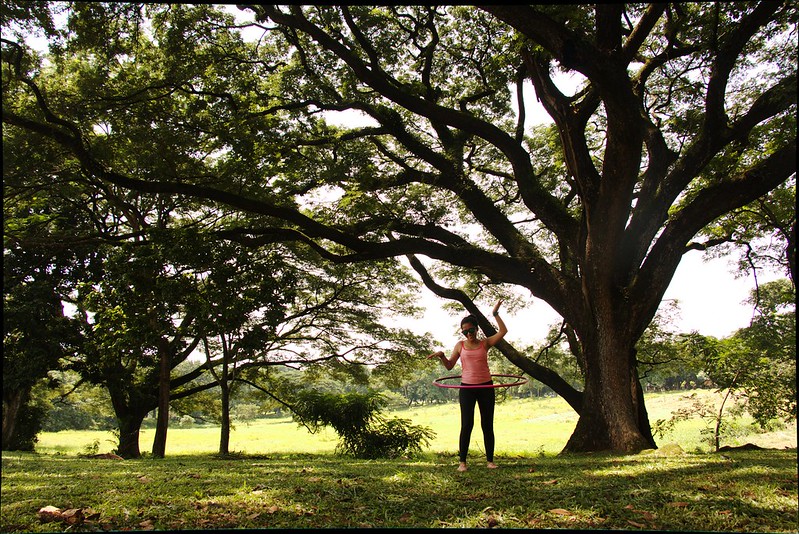
I’ve always wanted to do fitness-related activities at home but didn’t know how to start. I’ve always been on the skinnier side and was afraid that people might judge me. Thanks to Pilates, which I first learned of seven months ago through Cassey Ho’s Blogilates. I instantly got hooked and it immediately became a part of my daily routine that I religiously followed and enjoyed. I even created a new Instagram account (@hoopinpoppin) documenting my journey to a fit lifestyle because I was flooding @missbackpacker with photos of me stretching and splitting.
Rowjie had been urging me to try yoga and I found it similar to Pilates in many aspects. Both Pilates and yoga exercises focus on flexibility, core strength, and endurance. It’s just that yoga also puts emphasis on spiritual meditation. Aside from hooping, I am now a Pilates practitioner.

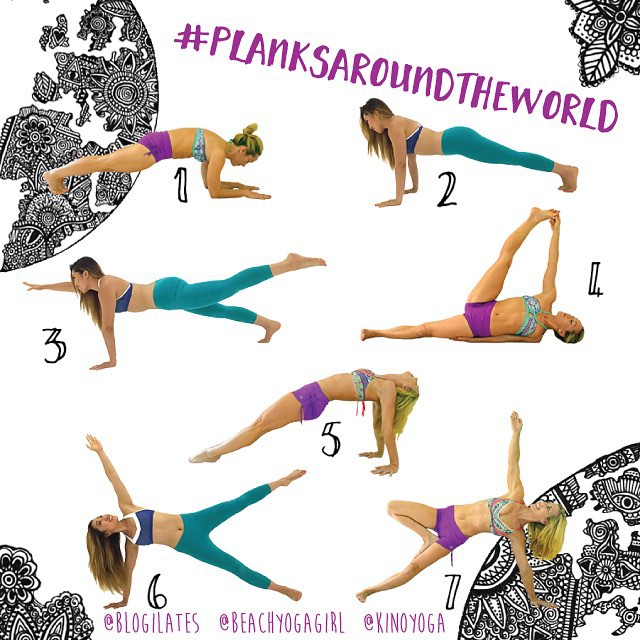
But, I am not here to talk about Pilates and whatnot. Today, I’m writing about the fun challenge called Planks Around the World I did with my good friend, Joie. In seven days, challengers must be able to complete seven different plank poses with photos in different locations. The quirkier, the better.
| For those who don’t know what planking is, here’s an article that best describes the benefits you’d get from doing this core or, ahem, abs exercise. |
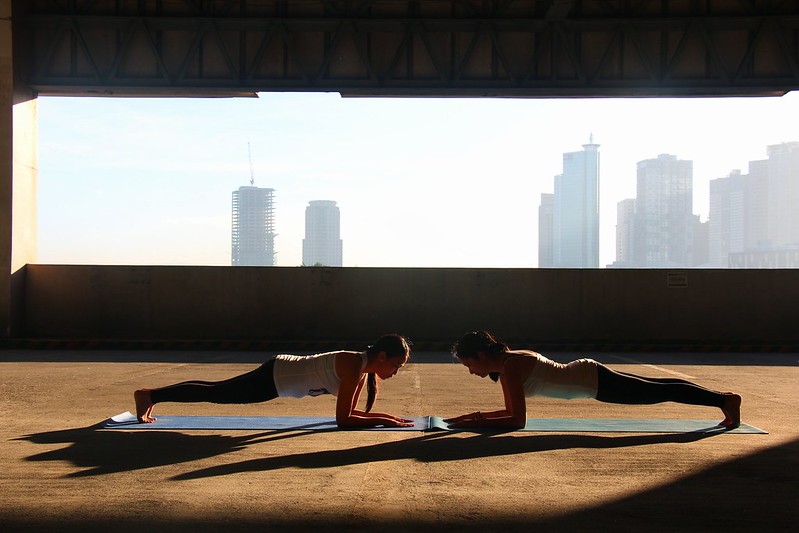
Because we have a very hectic schedule (she’s getting married to her fiancé soon), we couldn’t squeeze in extra time just so we could go places for our planks. Then we thought, why not plank in our office building? And that’s what we did and planned to do for the duration of the tasks.
The real challenge was not the plank poses itself, but not getting caught by the security guards manning the building. Apparently, taking photos inside the building is prohibited. It might not be the wildest for most of you but it’s crazy enough for us that it gave us the feeling of thrill and excitement.
DAY 1: DOLPHIN PLANK
Among the seven poses, this is one of the easiest. They say dolphin plank is easier than a traditional plank because you can use your forearms for balance, which takes the pressure off of your wrist joints. I beg to disagree. This plank, for me, is way more difficult than the traditional. The bruises on my elbows are proofs.

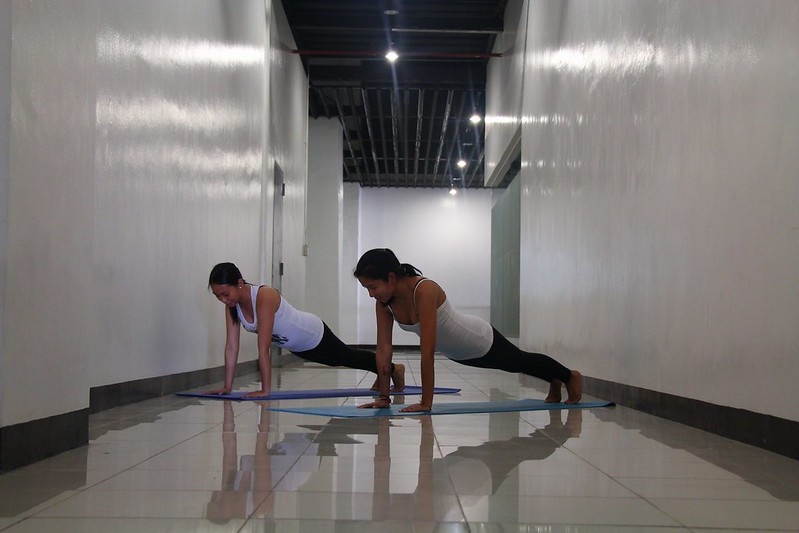
DAY 2: TRADITIONAL PLANK
Traditional plank or full plank is done as if you are about to perform a push-up. Kneel on all fours with hands directly under shoulders. Curl your toes, contract abs, and lastly, straighten your legs. Easy, right?
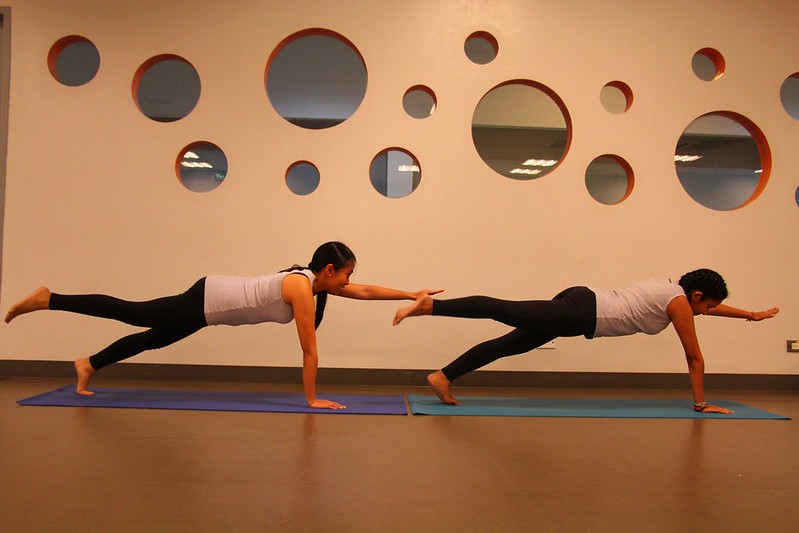
DAY 3: ADVANCED PLANK
This probably is the most difficult we did among all seven poses. You have to start with a traditional plank with your feet about hip-width apart as bringing your feet closer together will just make the plank even more difficult. Then, lift your opposite leg and arm up maintaining a nice straight line as you lift. This plank is much harder than it looks. I almost gave up doing this. Try it and tell me if I am wrong.
DAY 4: EQUAL BALANCING PLANK
Since we couldn’t think of any other spots in our building where the guards wouldn’t see us, we finally went to the University of the Philippines-Diliman. The university has a vast area shaded with trees, which we thought was perfect for our stretches.
The equal balancing plank or Samanasana in yoga is done by rolling over onto your left side from your back, then stacking your side body directly on top of your left arm. Lift your right legs as high as you can and reach for it using your right arm. I have done this while standing and could say that I pretty nailed this plank.
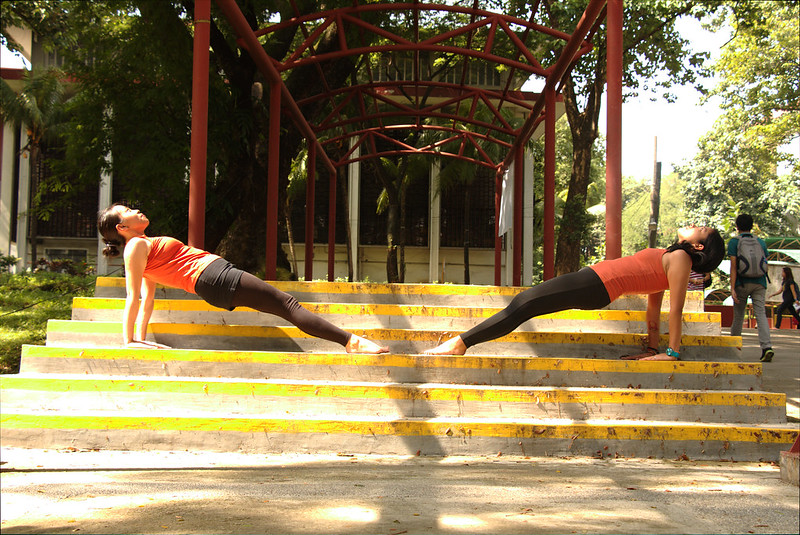
DAY 5: REVERSE PLANK
As the name suggests, it’s planking the other way around. Not much to explain but always remember to keep both your palms and feet flat on the ground to feel that extra oomph. It targets not only the posterior and abdominal muscles, but it also strengthens the butt muscles and hamstrings. If you don’t feel any pain, then you’re not doing this plank correctly.

DAY 6: STARFISH SIDE PLANK
If you know how a starfish looks like, then this plank is a piece of cake. Oops! Not really. Do a side plank with your hand placed beneath your shoulder. Raise your top arm and leg off of the ground and hold the position.
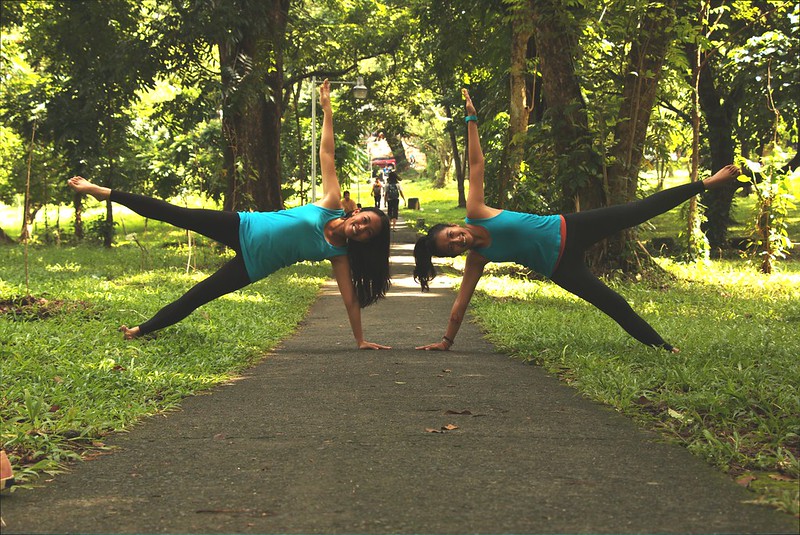
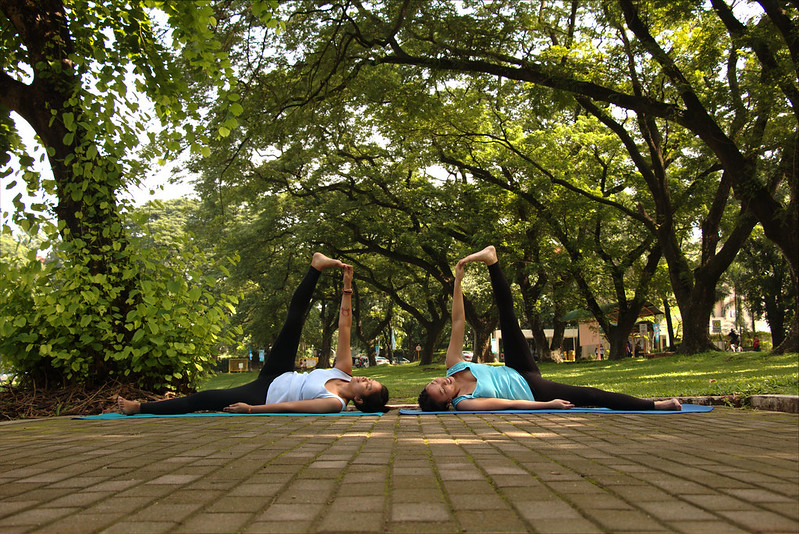
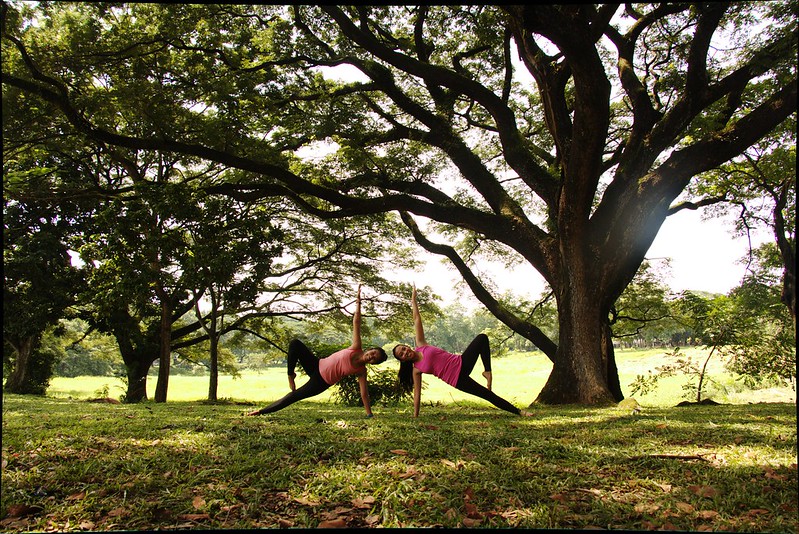
DAY 7: TREE POSE SIDE PLANK
The tree pose side plank or Vrksasana in Vasisthasana in yoga is a much more difficult variation of the starfish side plank. Once you are on a starfish side plank position, place the sole or tip of your top foot onto your upper inner thigh.
So, what did we gain after doing this plank challenge? Nothing really. It was just fun doing things that both you and your friends enjoy at the same time. Also, we were able to push ourselves to do stuff that we thought we couldn’t. Hello, advanced plank?
Before I forget, thank you, Andrew, for taking our photos and keeping up with our craziness. You folks may follow him on Instagram (@faronandrew) and see his amazing macro photography skills.
I think I enjoyed writing about this and you may find yourselves reading more about Pilates or stretching or headstands or splits or whatevs. ♥
TIP: As part of my daily routine, I do dolphin plank for 90 seconds and side (both left and right) plank for 60 seconds or as long as I can hold. Doing this helps me strengthen my core and is really effective.